Week of 1/22/24
- Anthony- Cartolano
- Jan 26, 2024
- 2 min read
This week I continued to work on my jersey project. After routing my frame last week, I began sanding everything down. Milo showed me how to use the sanding tool which I used on the flat sides. For the LED groove, I used sandpaper but it was too slow and inefficient so I came up with the idea of taping sandpaper to a metal cube and making my own custom sanding cube, which made the whole process much easier. After some final touches, I was ready to move on to the dowels.
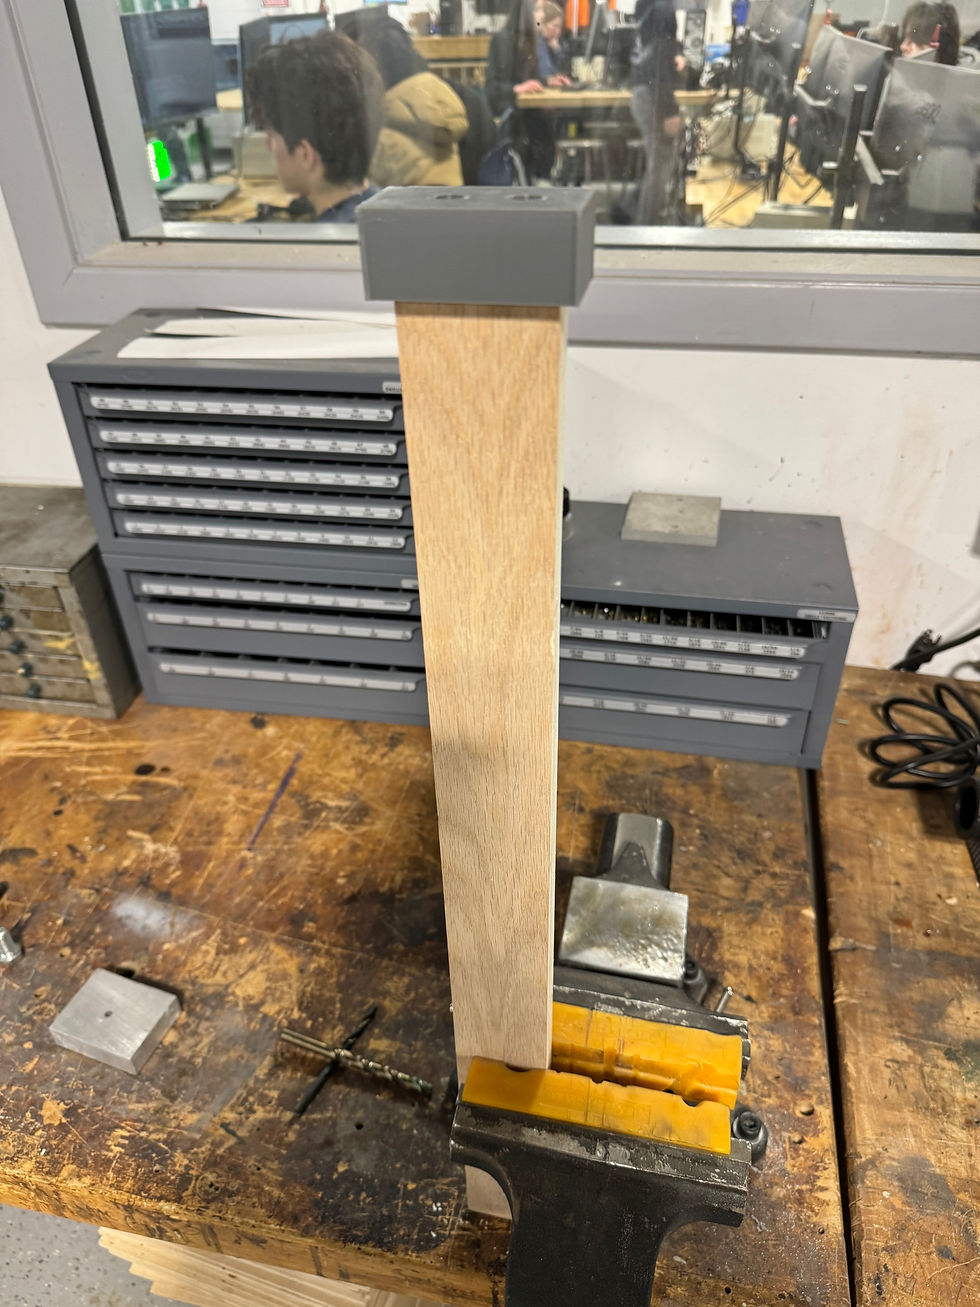
The jig I made before wasn't stable and required clamps to be held in place, which led to crooked holes and things not lining up. To fix this, I designed a hollowed out cube that fits on the top and bottom pieces perfectly. I 3D printed it and was ready to drill the holes for the dowels.
I wanted to use the drill press for accuracy, but my pieces were too long so I had to use a drill by hand. I put a piece of tape on the drill bit to mark when I needed to stop going down, and after a little I had all the holes in the top and bottom pieces. I was ready to do the same to the left and right pieces but since the dowels are on a different side I needed to make a new jig, which I did. The new jig was an L shaped piece that fit over the side, and I thought everything would go fine.
When I was drilling the holes, I didn't notice that it was too close to the edge, and I drilled right through it. There wasn't enough space for the hole, and so I needed to redesign everything. This was annoying, but the holes I had already drilled and the dowels into were a little crooked because I didn't drill exactly straight down, so I was fine with redoing it. I routed the new frame with more space for the holes, and I plan to sand everything and design new jigs so everything fits perfectly.


Comments